Note: None of the links here are affiliate links. I don’t earn anything by linking things, I just like supporting the paintball community and providing links for your reference so you know what I’m talking about.
ANS Gen X2 Rebuild Kits
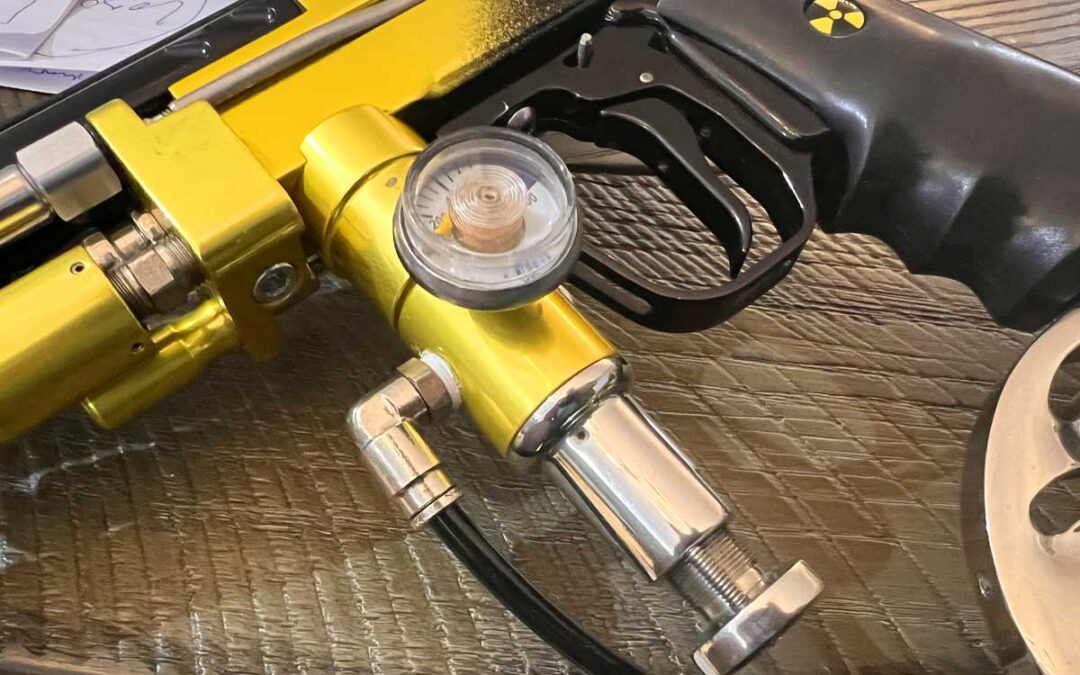
I had a really interesting problem recently with an ANS Gen X II Regulator recently. Something blew inside of it and dumped the whole tank out the bottom. I quickly ordered an ANS Gen-X Rebuild Kit from ANSGear (which as of right now doesn’t seem to be available any more) but it contained only about 95% of the parts I needed to fix the issue at hand.
The kit was great – it had all the replacement o-rings, replacement airlock set-screws and one of the seal disks required… but as I tore apart the regulator I realized that there was a waxy, deteriorating film inside the interior piston. This was the culprit for the leak. ANS always has outstanding service, so I called up their service department and they informed me that this part is not intended to be serviceable. I’d have to either find a third-party market used piston or I’d have to buy an entirely new regulator.
I understand ANS’s position on this – the parts of a regulator that directly handle direct high-pressure outlets shouldn’t usually be messed with by the average bear. But I’m not your average bear and the mad scientist inside of me said, “Poppycock!” So ensued hours of googling and staring puzzled at the piston inside of my ANS Gen-X II regulator.
The Piston Seal Burst and Dumped All the Air
This brass piston inside of the regulator is definitely not easy to disassemble. You’ll need to blast it with a heatgun to release the red Lok-Tite holding the nut in place, and you should mark the position of the pass-thru set screw because I have an inkling it’s set to a position that give the interior spring a very specific level of tension. (Hence, why it’s not “user-serviceable”). This article is more for the techs who need to figure out this conundrum and get their regulator working again.
Furthermore, you should use a piece of zip-tie or a strip of thick rubber between the teeth of your wrench to prevent scratching the piston while disassembling. Burrs are no-bueno when it comes to high pressure pneumatics. Make sure you don’t scratch this up… especially around the edges where the exterior piston o-ring is present… or you’ll be buying a new regulator.
Now, the reason I did all this is not because I didn’t want a new regulator… it’s because the one I have is anodized to match the gun and I didn’t want to trash it. It is definitely easier to just get a new regulator.
But for those brave souls who need to fix theirs, this is the solution.
Jerry-Rigging the Burst Piston Seal
It took a while to find the answer on the M. Carter Brown forum somewhere but I can’t seem to find the post now, but the general solution was to nest an 006 o-ring inside of an 010 o-ring and slap that baby into the piston where the old stamped-urethane seal used to be.
In order to do this you need to clean out the old urethane and make the piston all brand-new again. So re-heat that brass piston with your heatgun, get some swabs and clean it all out completely. I used a bit of oil on the end of the last swabs to make sure it was all cleaned out of there. There’s a pinhole-nib on the end of the piston that you should make sure is cleared as well… I used a cotter pin to clean it out.
Once your piston is all clean, I put some DOW grease on the nested o-rings, placed them at the bottom of the piston, re-inserted the spring-disk and the piston spring, then tightened the set screw up the the correct position again with some BLUE Lok-Tite this time (in case I need to service it again… but maybe RED is better here so it doesn’t back out over time)… and let it cure for 24 hours.
Once it was cured up, I reassembled the regulator, replaced the macroline fittings attached it to the autococker it belongs to, cocked it and turned on the ASA while shielding my face in case I got another 500psi rush of air.
It works!
There was a fart, a skip and suddenly it sealed up. I took a few dry shots, adjusted the input pressure, and took a few more shots and it was settling in at ~350psi input pressure. Works like a charm now!
I hope this helps anyone else who’s servicing an ANS Gen-X II regulator in the future! For now it seems to be working great. I’ll update this post if I find that solution isn’t working somehow.
Also, I’ll take some photos and upload them here when I have a chance to disassemble the regulator again.
